|

|
BEHIND-THE-SCENES: ARTIST JOSHUA IZZO

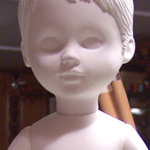
Living Dead Doll Custom Stage 01
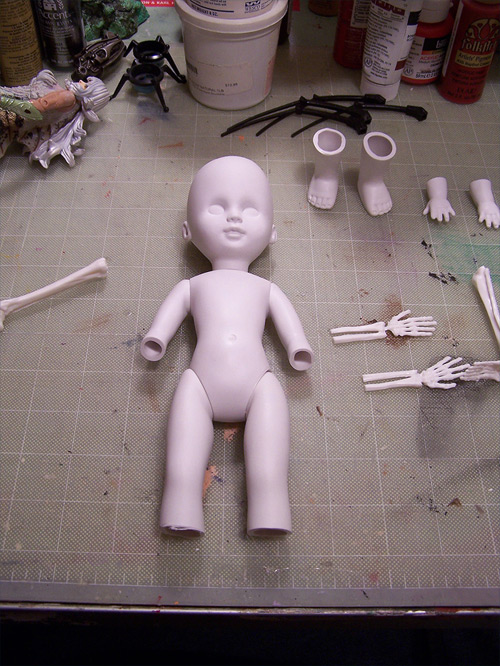
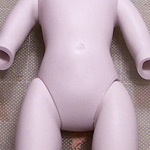
Here we find the unaltered doll on my drafting table. I have done multiple preparatory sketches for what my final doll will look like and I have settled on a particular design. The little guy will not stay in this pristine and unaltered state for long. To start, I assemble my utensils — various paintbrushes, my dremel, sandpaper of varying grits and sculpting tools.
Living Dead Doll Custom Stage 02
My idea for the doll was that due to a series of unfortunate mishaps, the poor little guy’s limbs got mangled, leaving only the skeleton in evidence. Ghoulish? Yup. Ridiculous? Sure. Cartoony? Of course. I make cartoons for a living, what do you expect?
Here, I have laid out my parts that I plan to use. The skeletal pieces come from an old ‘Invisible Man’ model kit that I found in my In-Law’s house. We were cleaning out some of my wife’s stuff and I found this dusty old model kit. It was unassembled, and I took it home for it’s kitsch factor. I never put the model together, and I’m glad I didn’t, for then this project would have been stalled from the start.
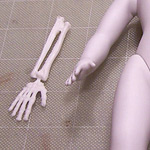
Living Dead Doll Custom Stage 03
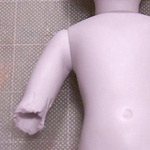
In this stage, I have taken an Exacto Knife and sliced off the arms and legs (right below the elbows and knees) on my doll. I have also cut down the skeletal arms and legs so that they can be inserted into the hollow arms and legs of the doll.
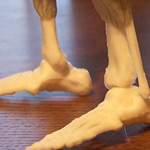
Living Dead Doll Custom Stage 04
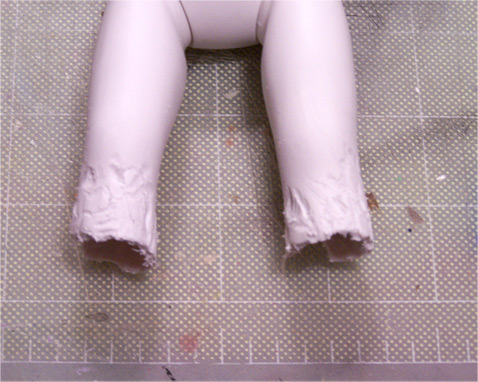
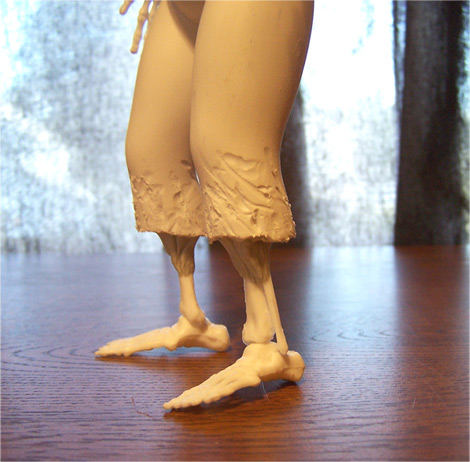
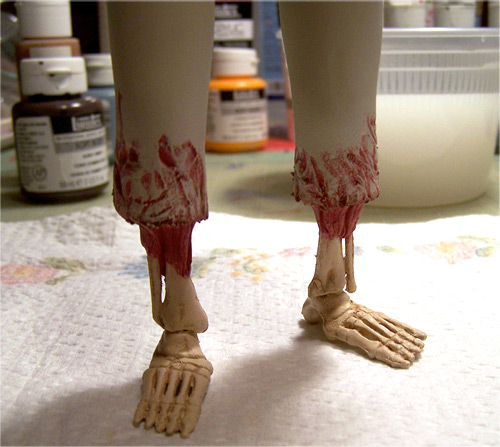
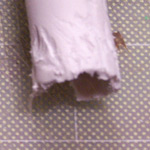
This was a fun part. Using a dremel and some other implements of destruction I mangled up the cuts that I previously made. This is to simulate bite marks, chainsaw rips and rends and other gross ways of having ones arms and legs ripped off.
The close up shows his legs before I sanded them and finessed the carnage.
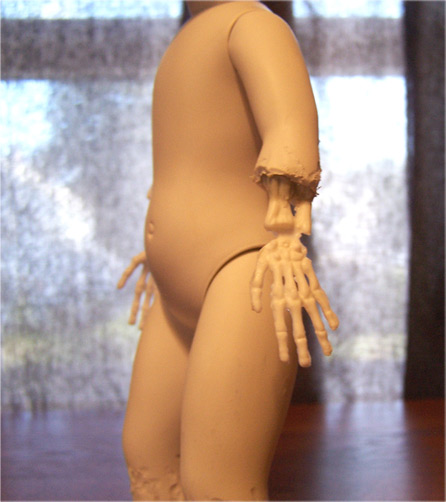
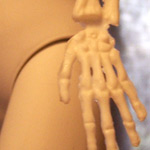
Living Dead Doll Custom Stage 05
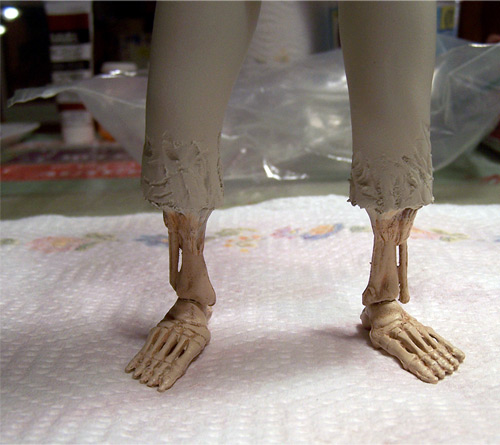
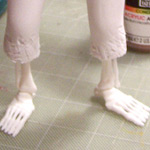
Here is where I used Kneadatite, a type of sculpting and plumbing 2-part epoxy to affix the skeletal arms and legs into position. A happy side effect was that after everything had dried and hardened, I found that my doll could stand up by itself.
Living Dead Doll Custom Stage 06
This is where is really starts getting fun. Using Magic Sculpt, another 2-part sculpting compound, I began to add details to the doll such as hair and musculature. The hair was sculpted in one sitting and the exposed arm and leg muscles were sculpted in a second sitting. I used an anatomy book to allow some ‘slight’ realism to the muscles so that when they were painted, they would look partially real.
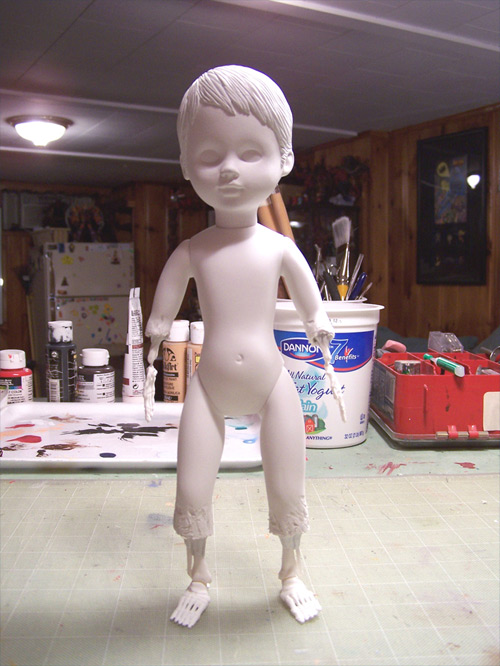
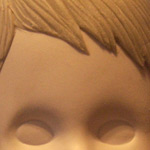
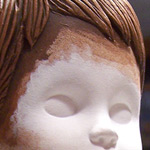
Living Dead Doll Custom Stage 07
Ah! Primer! He’s now fully sculpted and spray-painted with a Krylon white primer. Ready to paint!
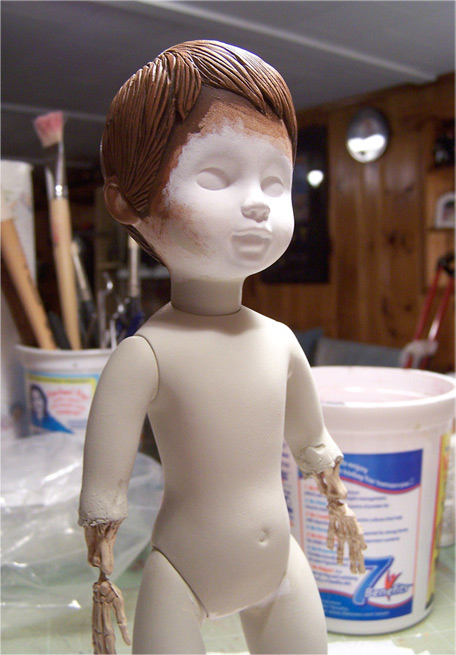
Living Dead Doll Custom Stage 08
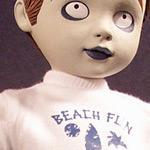
This is where my idea really begins to take shape. I painted the hair first. It was painted with a light brown undercoat. I then layered on washes of darker browns and umber paints to give it some depth. After these base coats had dried, I dry-brushed on two lighter coats of an ochre color (brown-yellow) for lighter highlights. When this had dried, I laid down one final wash of dark umber brown to once more bring out some depth.
The body was painted with a custom ‘dead’ flesh color of parchment, light green and grey blue.
The skeletal arms and legs again started with a dark brown undercoat. I then lightly dry-brushed a parchment color on top of the brown to simulate a bone color. This allowed some of the brown to remain showing through the parchment to add to the depth. I then went over all the limbs with a very light brown wash.
 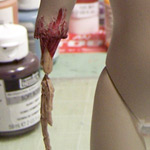
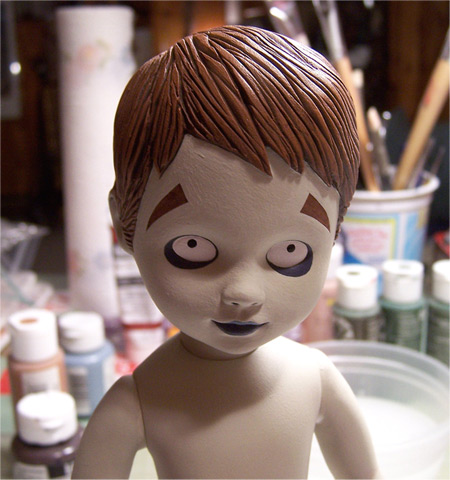
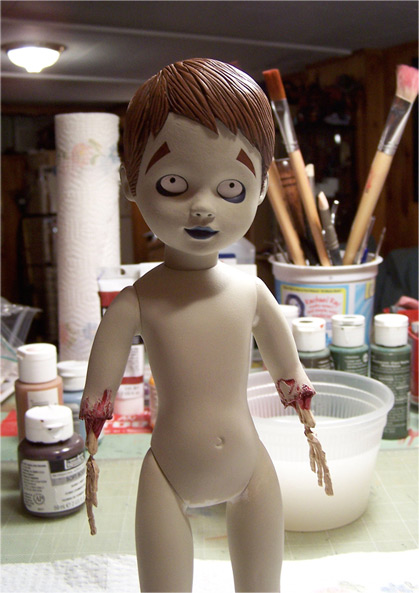
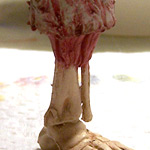
Living Dead Doll Custom Stage 09
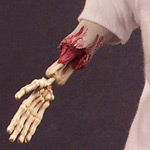
This is the “almost” complete paint for the doll. I have added dark blue circles under his eyes and on his lips. The lips are still roughed in, and will be refined as the painting progresses.
His stumpy arms have been painted with various washes of crimson and bright red paints to simulate gashes and gouges, and then dry-brushed with the skin color once more to give the illusion that the blood is under the skin.
His muscles and ligaments have been painted with various crimsons, reds, pinks and washed of white and umber to simulate human musculature and dried blood.
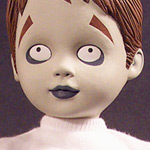   
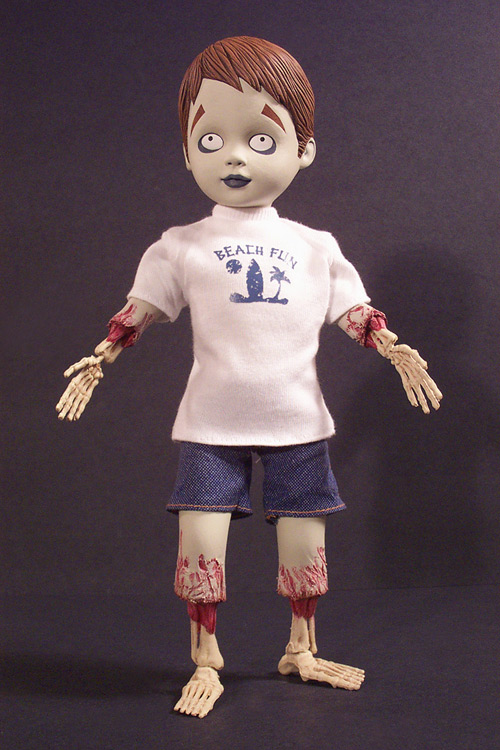
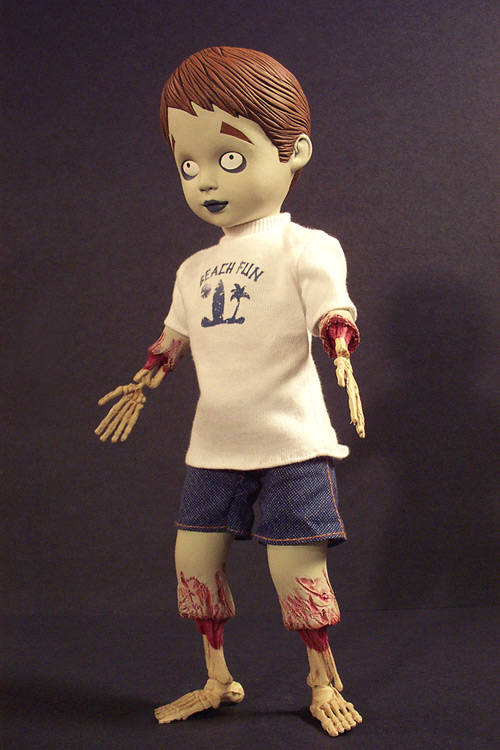
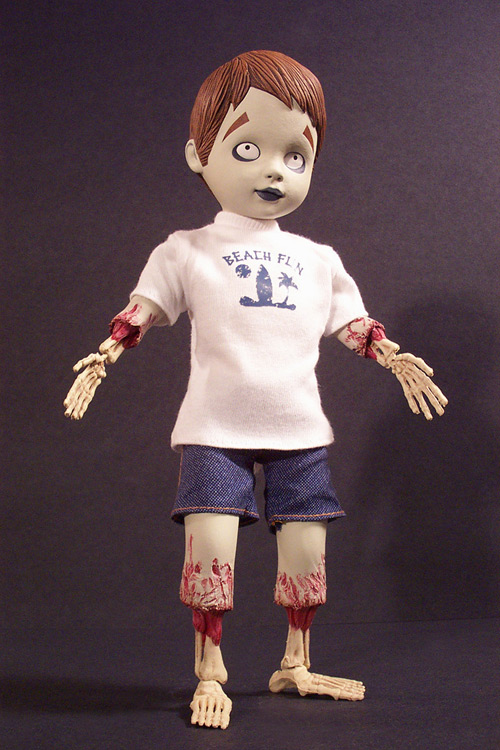
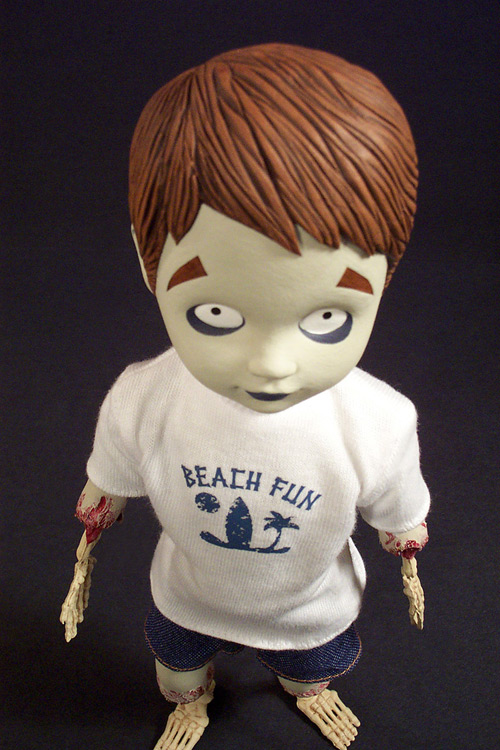
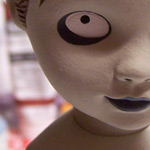
Living Dead Doll Custom Stage 10
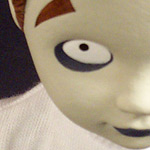
Here is the final painted doll. I have added eyebrows using the same painting technique as his hair, eyeballs and have finished his lips with two different shades of blue to simulate a deathly pallor.
The only thing left was to clothe him and he’s ready for the show! If anyone has any questions about techniques, what I used to paint with, modeling compounds or anything at all, please do not hesitate to contact me directly at joshuaizzo@yahoo.com.
|
|
|